Laguna Seca Track Map Explained: Corners, Layout & Key Sections
LapSnaps Editorial Team
3 min read
Laguna Seca Track Map Overview
The Laguna Seca track map shows a short but highly technical circuit packed with elevation changes and blind corner entries. Measuring just over 2.2 miles, the layout leaves little room for mistakes and rewards precision over aggression.
Understanding how the circuit flows from corner to corner is essential, as errors often affect multiple sections of the lap.
Laguna Seca Track Layout Explained
Laguna Seca features 11 corners arranged in a continuous rhythm with minimal rest between braking zones.
Key layout characteristics:
- Compact lap with short straights
- Multiple blind corner entries
- Heavy braking zones followed by technical exits
- Significant elevation change in the middle sector
The map highlights how important corner exits are, especially leading onto the front straight.
Key Sections on the Laguna Seca Track Map
Front Straight & Turn 2 (Andretti Hairpin)
The lap begins with a short straight leading into a tight uphill hairpin. Braking stability here is critical, as the exit sets up the entire first sector.
Turns 3, 4 & 5
A flowing section where balance and consistency matter. The track map shows how these corners link together, making rhythm more important than outright speed.
Turn 6
A fast uphill left hander that rewards confidence and smooth steering. Poor positioning here compromises the run up to the Corkscrew.
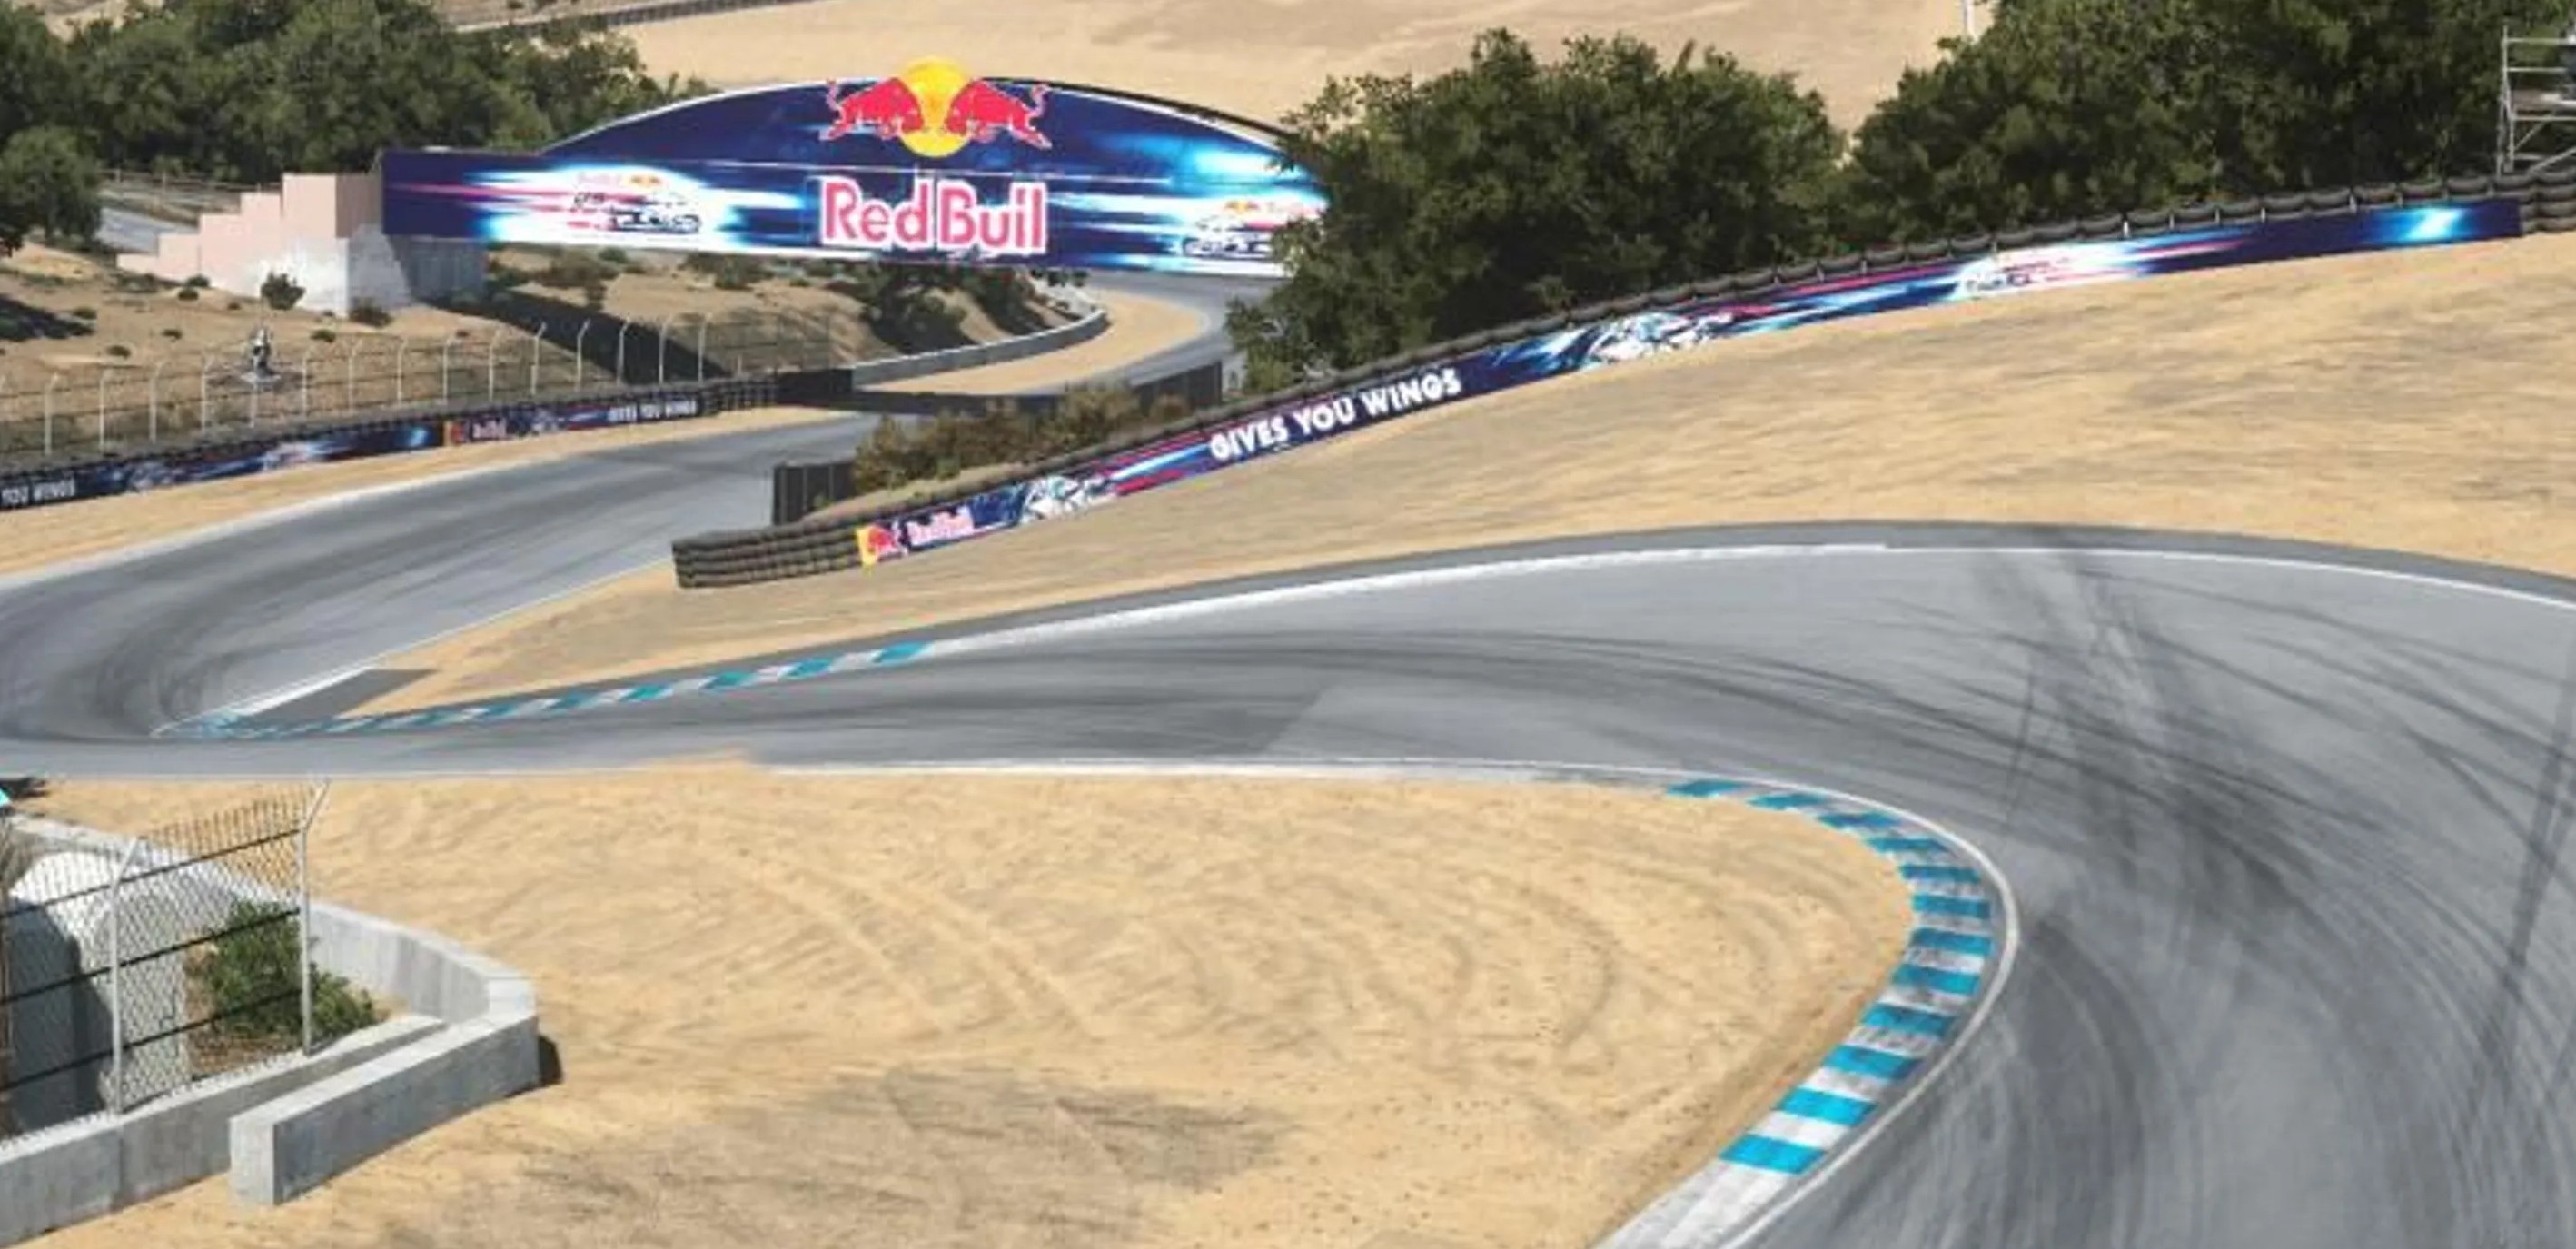
The Corkscrew (Turns 8 & 8A)
The most iconic section of the circuit. The track map reveals a sharp left‑right transition combined with a dramatic drop in elevation. Reference points are limited, making precision essential.
Rainey Curve (Turn 9)
A fast downhill right hander where the car must remain settled. Smooth throttle application is key.
Final Sector & Turn 11
The final corner is critical. A strong exit onto the front straight has a major impact on lap times.
How the Track Map Affects Driving Lines
The Laguna Seca track map highlights why:
- Late apexes are often faster
- Braking zones must be precise
- Exit positioning matters more than entry speed
Because of the circuit’s compact nature, one mistake can affect several corners in a row.
Common Mistakes Shown by the Track Map
Looking at the map, common driver errors include:
- Over slowing the car mid corner
- Turning in too early at blind entries
- Compromising exits by chasing entry speed
- Losing rhythm through linked corners
Studying the track map before driving helps reduce these mistakes.
Using the Track Map Before a Track Day
Before heading out on track:
- Study the map to understand corner sequences
- Identify heavy braking zones
- Note where exits matter most
Combining map knowledge with on track reference points leads to faster learning and better consistency.
Explore Laguna Seca Track Photos
Seeing the Laguna Seca layout in real conditions makes the map easier to understand.
Browse Laguna Seca Circuit photography on LapSnaps to see how drivers position their cars through each section of the track.
👉 Laguna Seca photos and galleries
Related Track Guides
To learn more about driving Laguna Seca in detail, explore:
- Laguna Seca Track Guide: Corkscrew, Layout & Driving Tips
- Sebring International Raceway Track Guide
- Road America Track Guide
- Techniques: How to drive a race track faster
Or browse our full collection of race track galleries.
Your Car's
Perfect Shot
© 2026 Lap Snaps. All rights reserved